

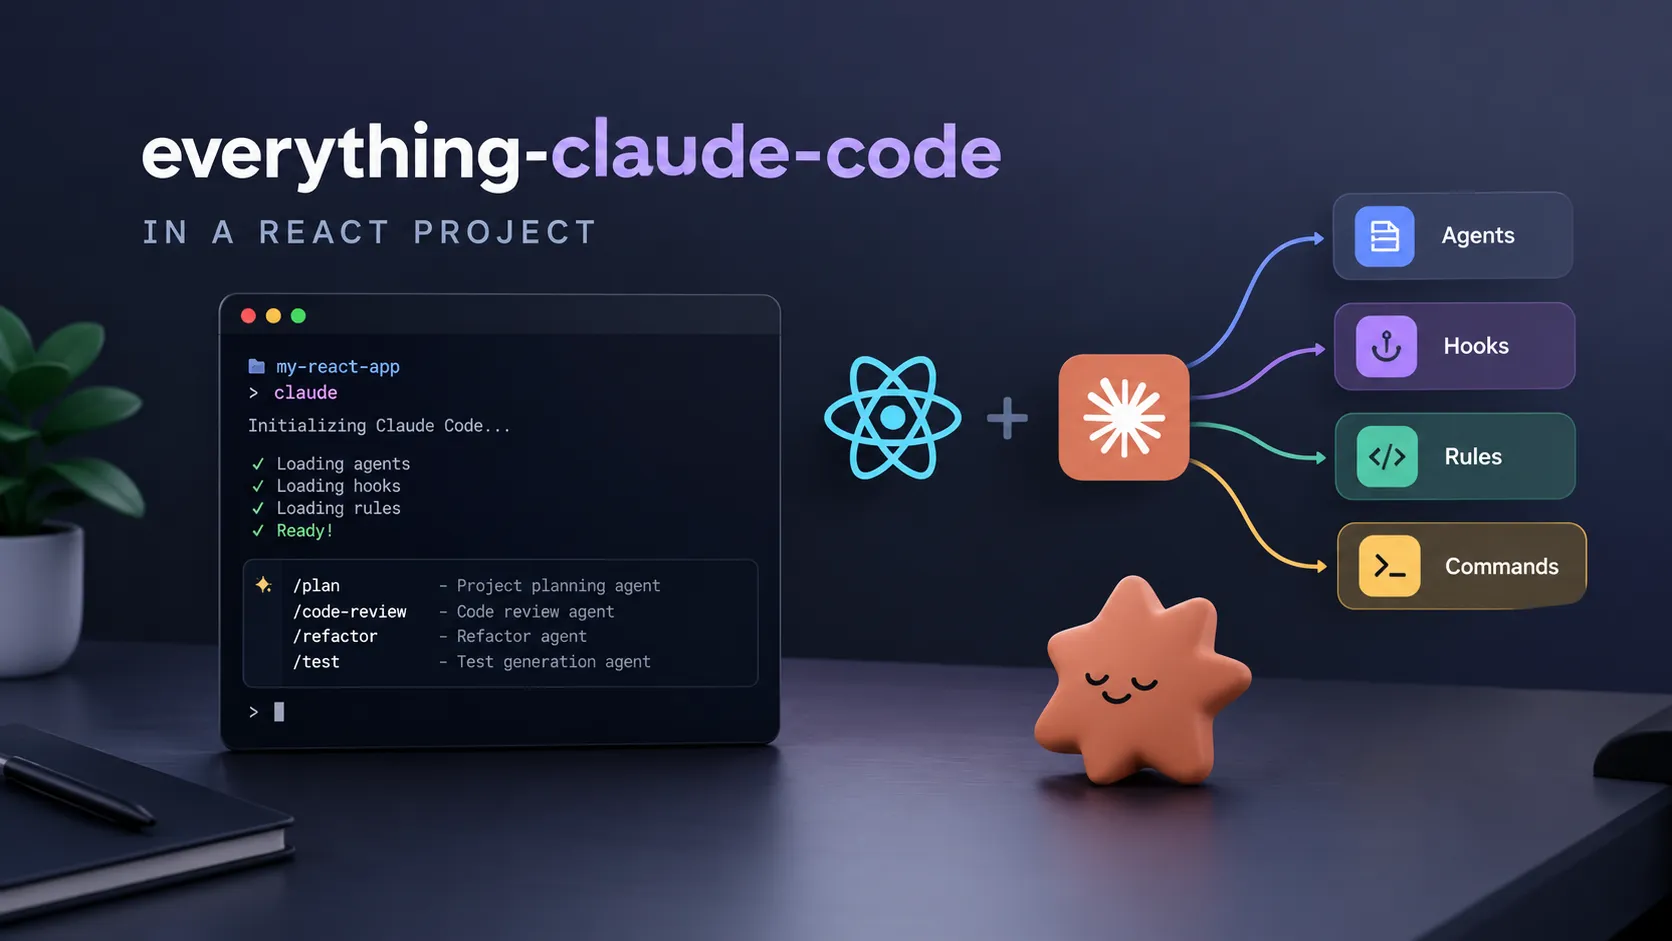
everything-claude-code hit the GitHub trending page today and for good reason—it’s a battle-tested collection of Claude Code configs built by someone who actually ships production apps with the tool, not a weekend experiment. Agents, hooks, slash commands, rules, skills, MCP configs—it’s all there. The repo is raw config though, and the README assumes you already know how Claude Code’s primitives fit together. This tutorial fills that gap for a React project specifically.
Here’s how I’d integrate this into a real React (or Next.js) codebase today, plus the gotchas I’d warn a client about before recommending it.
1. What this repo is and why it’s blowing up
Claude Code is Anthropic’s terminal-native AI coding agent. It can read files, run bash commands, edit code, and call external tools—all in a loop. The power isn’t the chat interface, it’s that you can wire rules, hooks, and subagents around it so it behaves consistently across a whole codebase.
The problem is that configuring Claude Code well takes months of trial and error. The everything-claude-code repo short-circuits that. The author won an Anthropic hackathon building a production app entirely through Claude Code, and these are the configs that came out of 10+ months of daily use. The community noticed.
Four primitives to understand before we touch any config:
- Rules — Markdown files in
~/.claude/rules/that are always injected into Claude’s context. Think of them as your global coding standards. - Agents — Specialized subagents Claude delegates to. Each agent has its own role, tool access, and model choice.
- Commands — Slash commands (
/plan,/tdd,/code-review) that trigger specific workflows. - Hooks — Event-driven scripts that fire before or after Claude uses a tool. This is where automation gets interesting.
2. Install and initial setup
You need Claude Code installed first. Then there are two ways to pull in everything-claude-code.
Option A — Plugin install (fastest): Inside Claude Code, run these two commands:
      # Inside Claude Code terminal
      /plugin marketplace add affaan-m/everything-claude-code
      /plugin install everything-claude-code@everything-claude-code
Option B — Manual cherry-pick (recommended for most React projects): Clone and copy only what you need. A full install dumps 50+ files into your global config, which bloats the context window on every session. Be selective.
      git clone https://github.com/WorldFlowAI/everything-claude-code.git ecc

      # Copy only the essentials to start
      cp ecc/rules/*.md ~/.claude/rules/
      cp ecc/commands/*.md ~/.claude/commands/
      cp ecc/agents/code-reviewer.md ~/.claude/agents/
      cp ecc/agents/refactor-cleaner.md ~/.claude/agents/
      cp ecc/agents/planner.md ~/.claude/agents/

      # Set your package manager (e.g. pnpm for most React setups)
      export CLAUDE_PACKAGE_MANAGER=pnpm
I’d start with just rules/, commands/, and the two or three agents you’ll actually use. You can always add more later.
3. Wiring it into a React project
The repo ships a skills/frontend-patterns/ directory specifically for React and Next.js. That’s your first stop. But the more valuable config is the project-level CLAUDE.md file—Claude Code reads this automatically when you open a session in a directory.
Create a CLAUDE.md at your repo root. The examples/CLAUDE.md in the repo is a solid starting template. For a React project, you want it to declare:
- Your component structure conventions (feature folders vs. flat, co-located tests or not)
- Your state management choices (Zustand, Redux Toolkit, React Query—so Claude doesn’t reach for something else)
- Your styling approach (Tailwind, CSS Modules, styled-components)
- Which agents to invoke for which tasks (e.g., “use the
architectagent before adding a new data-fetching layer”) - Package manager (or just run
/setup-pminside Claude Code and let it detect)
This matters because Claude Code’s context is per-session. Without a CLAUDE.md, every session starts cold. With one, the agent knows your conventions from line one.
The agent that’ll get the most use on a React project is code-reviewer. It runs on opus and focuses on quality, security, and maintainability. For component-heavy codebases, also install refactor-cleaner—it hunts dead code and unused exports, which React projects accumulate fast.
4. Hooks and rules that matter for React devs
The rules in rules/coding-style.md enforce immutability and file size limits—both good defaults for React. The one to edit immediately is the file size limit. The default is aggressive; most React component files I see in real codebases run 200–300 lines before they genuinely need splitting.
The hook I’d steal first is the console.log warn hook from the README. It fires a PostToolUse event every time Claude edits a .ts, .tsx, .js, or .jsx file and flags any console.log it finds. In practice this means Claude self-corrects before it ever shows you the diff. It’s a small thing but after a week of it you stop seeing debug logs in PRs entirely.
The memory persistence hooks (session-start.js and session-end.js) are more interesting for longer-lived projects. They serialize Claude’s working context at the end of each session and reload it at the start of the next. For a React refactor that spans multiple days, this is the difference between Claude remembering the reasoning behind your folder structure and you re-explaining it every morning.
One rule I’d write myself rather than take from the repo: a React-specific rule that tells Claude your preferred patterns for data fetching. Something like “prefer React Query for server state, useState/useReducer for local UI state, never fetch in useEffect without a library wrapper.” This prevents the most common AI-generated React anti-patterns I see in tutoring sessions.
5. Production gotchas
Several things will bite you if you don’t plan for them:
- Context window erosion. The README warns about this explicitly and the warning is real. Every enabled MCP server eats context. The repo recommends 20–30 configured, under 10 active per project. For a React project you probably need GitHub MCP, maybe Vercel, and whatever your backend uses. Disable the rest with
disabledMcpServersin your project config. I’ve seen a 200k context window collapse to 70k with a naive “enable everything” approach. - The agents use Opus by default. The
code-revieweragent spec in the README setsmodel: opus. Opus is slower and more expensive than Sonnet. For a quick component review that’s overkill—edit the agent file tomodel: sonnetunless you’re doing architecture-level work. - The
/learncommand extracts patterns mid-session into reusable skills. This sounds great but the extracted skills go into~/.claude/skills/globally, not per-project. On a team setup, one dev’s patterns will drift against another’s. Commit yourskills/folder to the repo and point Claude at it explicitly, or just skip/learnuntil the team agrees on conventions. - Hooks are bash by default, Node.js in the updated version. The repo has been rewritten to cross-platform Node.js scripts. If you’re on Windows, verify you’re using the
scripts/hooks/implementations, not any legacy bash. - The TDD rule enforces 80% coverage. The
rules/testing.mdfile is opinionated about this. If your React project is under that threshold today, Claude will surface the gap on every session. That’s either a feature or an annoyance depending on where you are. Adjust the rule to match your actual bar, not the repo’s ideal.
6. When I’d actually reach for this on a client project
I’ve been using Claude Code in various forms for a while now, and the honest answer is: this toolkit is high-leverage for solo developers or very small teams on a single long-running React project. It’s less obviously worth it in other situations.
I’d install everything-claude-code when:
- I’m the primary dev on a project that’ll run 3+ months. The memory persistence and continuous learning hooks compound over time—they’re basically useless for a one-week engagement.
- The codebase has clear, stable conventions I can encode in rules. A mature React + TypeScript + React Query + Tailwind setup is ideal. A “we’re still figuring out the architecture” project will just generate rule conflicts.
- I’m doing heavy refactoring. The
refactor-cleaneragent and the/refactor-cleancommand are genuinely useful here—they find dead exports and unused hooks that I’d miss in a manual review.
I’d skip it (or just take individual pieces) when:
- The project is a short-term build. Setup overhead is real—probably 2–3 hours to configure, test, and tune the hooks for your stack.
- The team has more than 3–4 people. The global
~/.claude/config doesn’t version-control cleanly across a team. You’d need a wrapper script to sync config on each machine, and at that point you’re maintaining tooling-for-your-tooling. - You just want Claude Code to write components. Honestly, the base Claude Code without any of this works fine for isolated tasks. The everything-claude-code configs matter when you’re running multi-step agentic workflows, not one-off generation.
The approach I’d recommend to most React devs right now: clone the repo, read rules/coding-style.md and rules/testing.md, copy those two files to ~/.claude/rules/, and write a solid CLAUDE.md for your project. That alone—probably 30 minutes of work—gets you 60% of the benefit with none of the config overhead. Add agents and hooks incrementally as you hit the specific problems they solve.
If you’re newer to React patterns and want to understand the conventions worth encoding in these rules, the React tutoring work I do covers exactly this—what patterns are worth enforcing at the tooling level versus what’s just preference. And if you want to go deeper on JavaScript tooling fundamentals, JavaScript tutoring is where that lives.
If you want a second set of eyes on your Claude Code setup or your React architecture before you commit to this kind of tooling investment, book a call—I’m happy to walk through what’s worth wiring up for your specific stack.